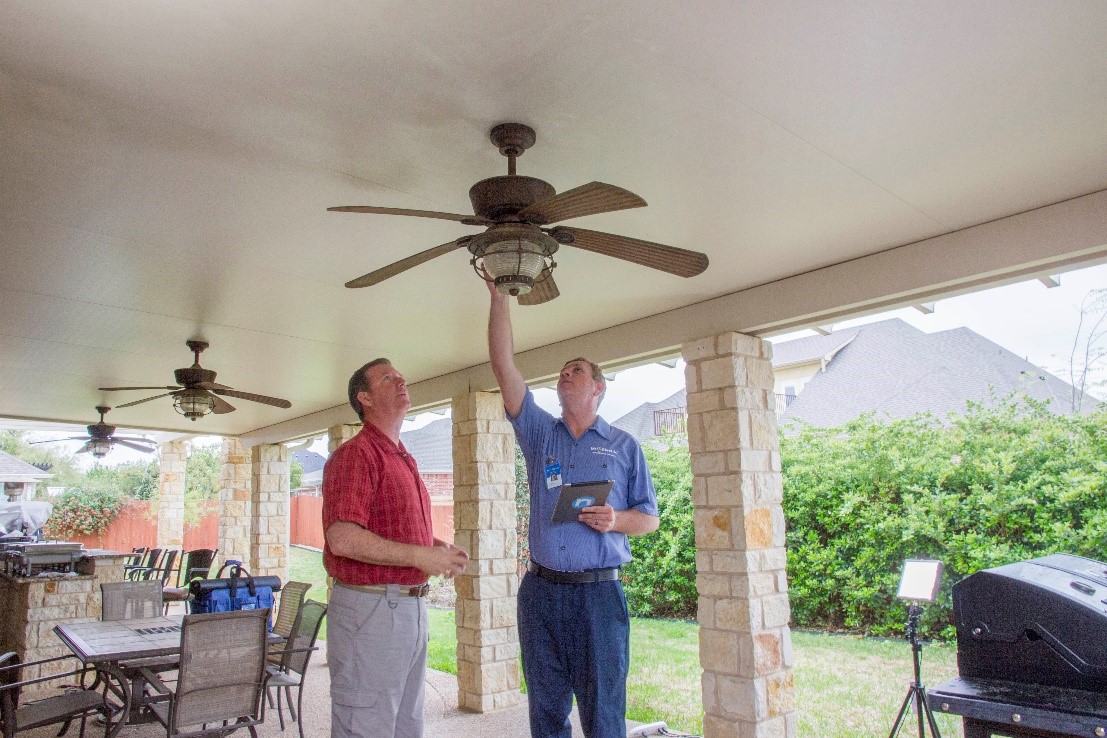
Installing a ceiling fan can be an ideal way to keep cool air circulating in the summer months and distribute warm air during the cold months, adding style as well. But does ceiling fan installation require particular expertise or skills? To find out, Mr. Electric breaks it down step by step.
Installing a ceiling fan may only sometimes be a straightforward DIY endeavor. It often requires essential electrical work that may prove daunting for unseasoned DIYers. If this sounds intimidating, seek professional assistance. An electrical repair service has trained professionals who can safely wire and ensure everything conforms to code standards.
Tools and Materials Needed
Before beginning any task, gather all the tools and materials you'll require for it. Here's a checklist to get you started:
- Ceiling fan kit (which includes the fan, mounting bracket, and screws)
- Screwdriver
- Wire stripper
- Voltage tester
- Pliers
- Electrical tape
Make sure you have everything ready before you begin the installation process. Reading the instruction manual with your ceiling fan kit is also a good idea. Each model can be different, so it's essential to follow the specific directions for your fan.
Step-by-Step Guide to Ceiling Fan Installation
Turn Off the Power
- The first and most crucial step in any electrical project is to turn off the power at the circuit breaker. Before you start working, use a voltage tester to ensure the power is off.
Remove the Existing Fixture
- If replacing an old light fixture with a ceiling fan, you must first remove it. Carefully detach the fixture and disconnect the wires.
Install the Mounting Bracket
- The mounting bracket is what holds the ceiling fan in place. Attach the bracket to the electrical box in the ceiling using the screws provided in your ceiling fan kit.
Connect the Wires
- This is the part where you need to be careful. Connect the wires from the ceiling to the wires on the ceiling fan, matching the colors (black to black, white to white, and so on). Use wire nuts to secure the connections and wrap them with electrical tape for extra safety.
Attach the Fan Blades
- Once the wiring is done, attach the fan blades to the motor. This usually involves screwing them in place. Make sure all the screws are tight so the blades don’t wobble when the fan is running.
Secure the Fan to the Bracket
- Finally, lift the fan and attach it to the mounting bracket. This step might require extra hands, as ceiling fans can be heavy and awkward.
Turn the Power Back On
- Once everything is securely in place, turn the power back on at the circuit breaker. Test the fan to make sure it works properly. Check the fan and the light (if your fan has one) to ensure everything functions as it should.
When to Get Professional Help
If any of these steps seem too complex for you to manage or if you need to do any electrical work, feel free to seek the advice and services of an electrician for ceiling fan installation. Hiring one could save time while guaranteeing safe and proper completion. Electricians possess the knowledge and tools for fast, safe ceiling fan installations.
If your older home contains outdated wiring, professional assistance should be sought to evaluate and upgrade its electrical system as soon as possible. They can assess its condition before providing necessary upgrades if required.
Ceiling Fan Replacement
If your current ceiling fan has seen better days or is no longer functioning as intended, replacing it might be worthwhile. While replacing may resemble the installation process more closely than starting from scratch, if it becomes cumbersome, you could always call professional electricians specializing in ceiling fan repairs to handle the replacement.
Mr. Electric
Installing a ceiling fan yourself can be an exciting DIY adventure, yet it can present its fair share of challenges. Understanding what steps must be taken and when professional help should be called can make the installation or replacement more manageable and safer. Take your time doing this right. Feel free to consult Mr. Electric when in doubt!


